
Astro-Photography
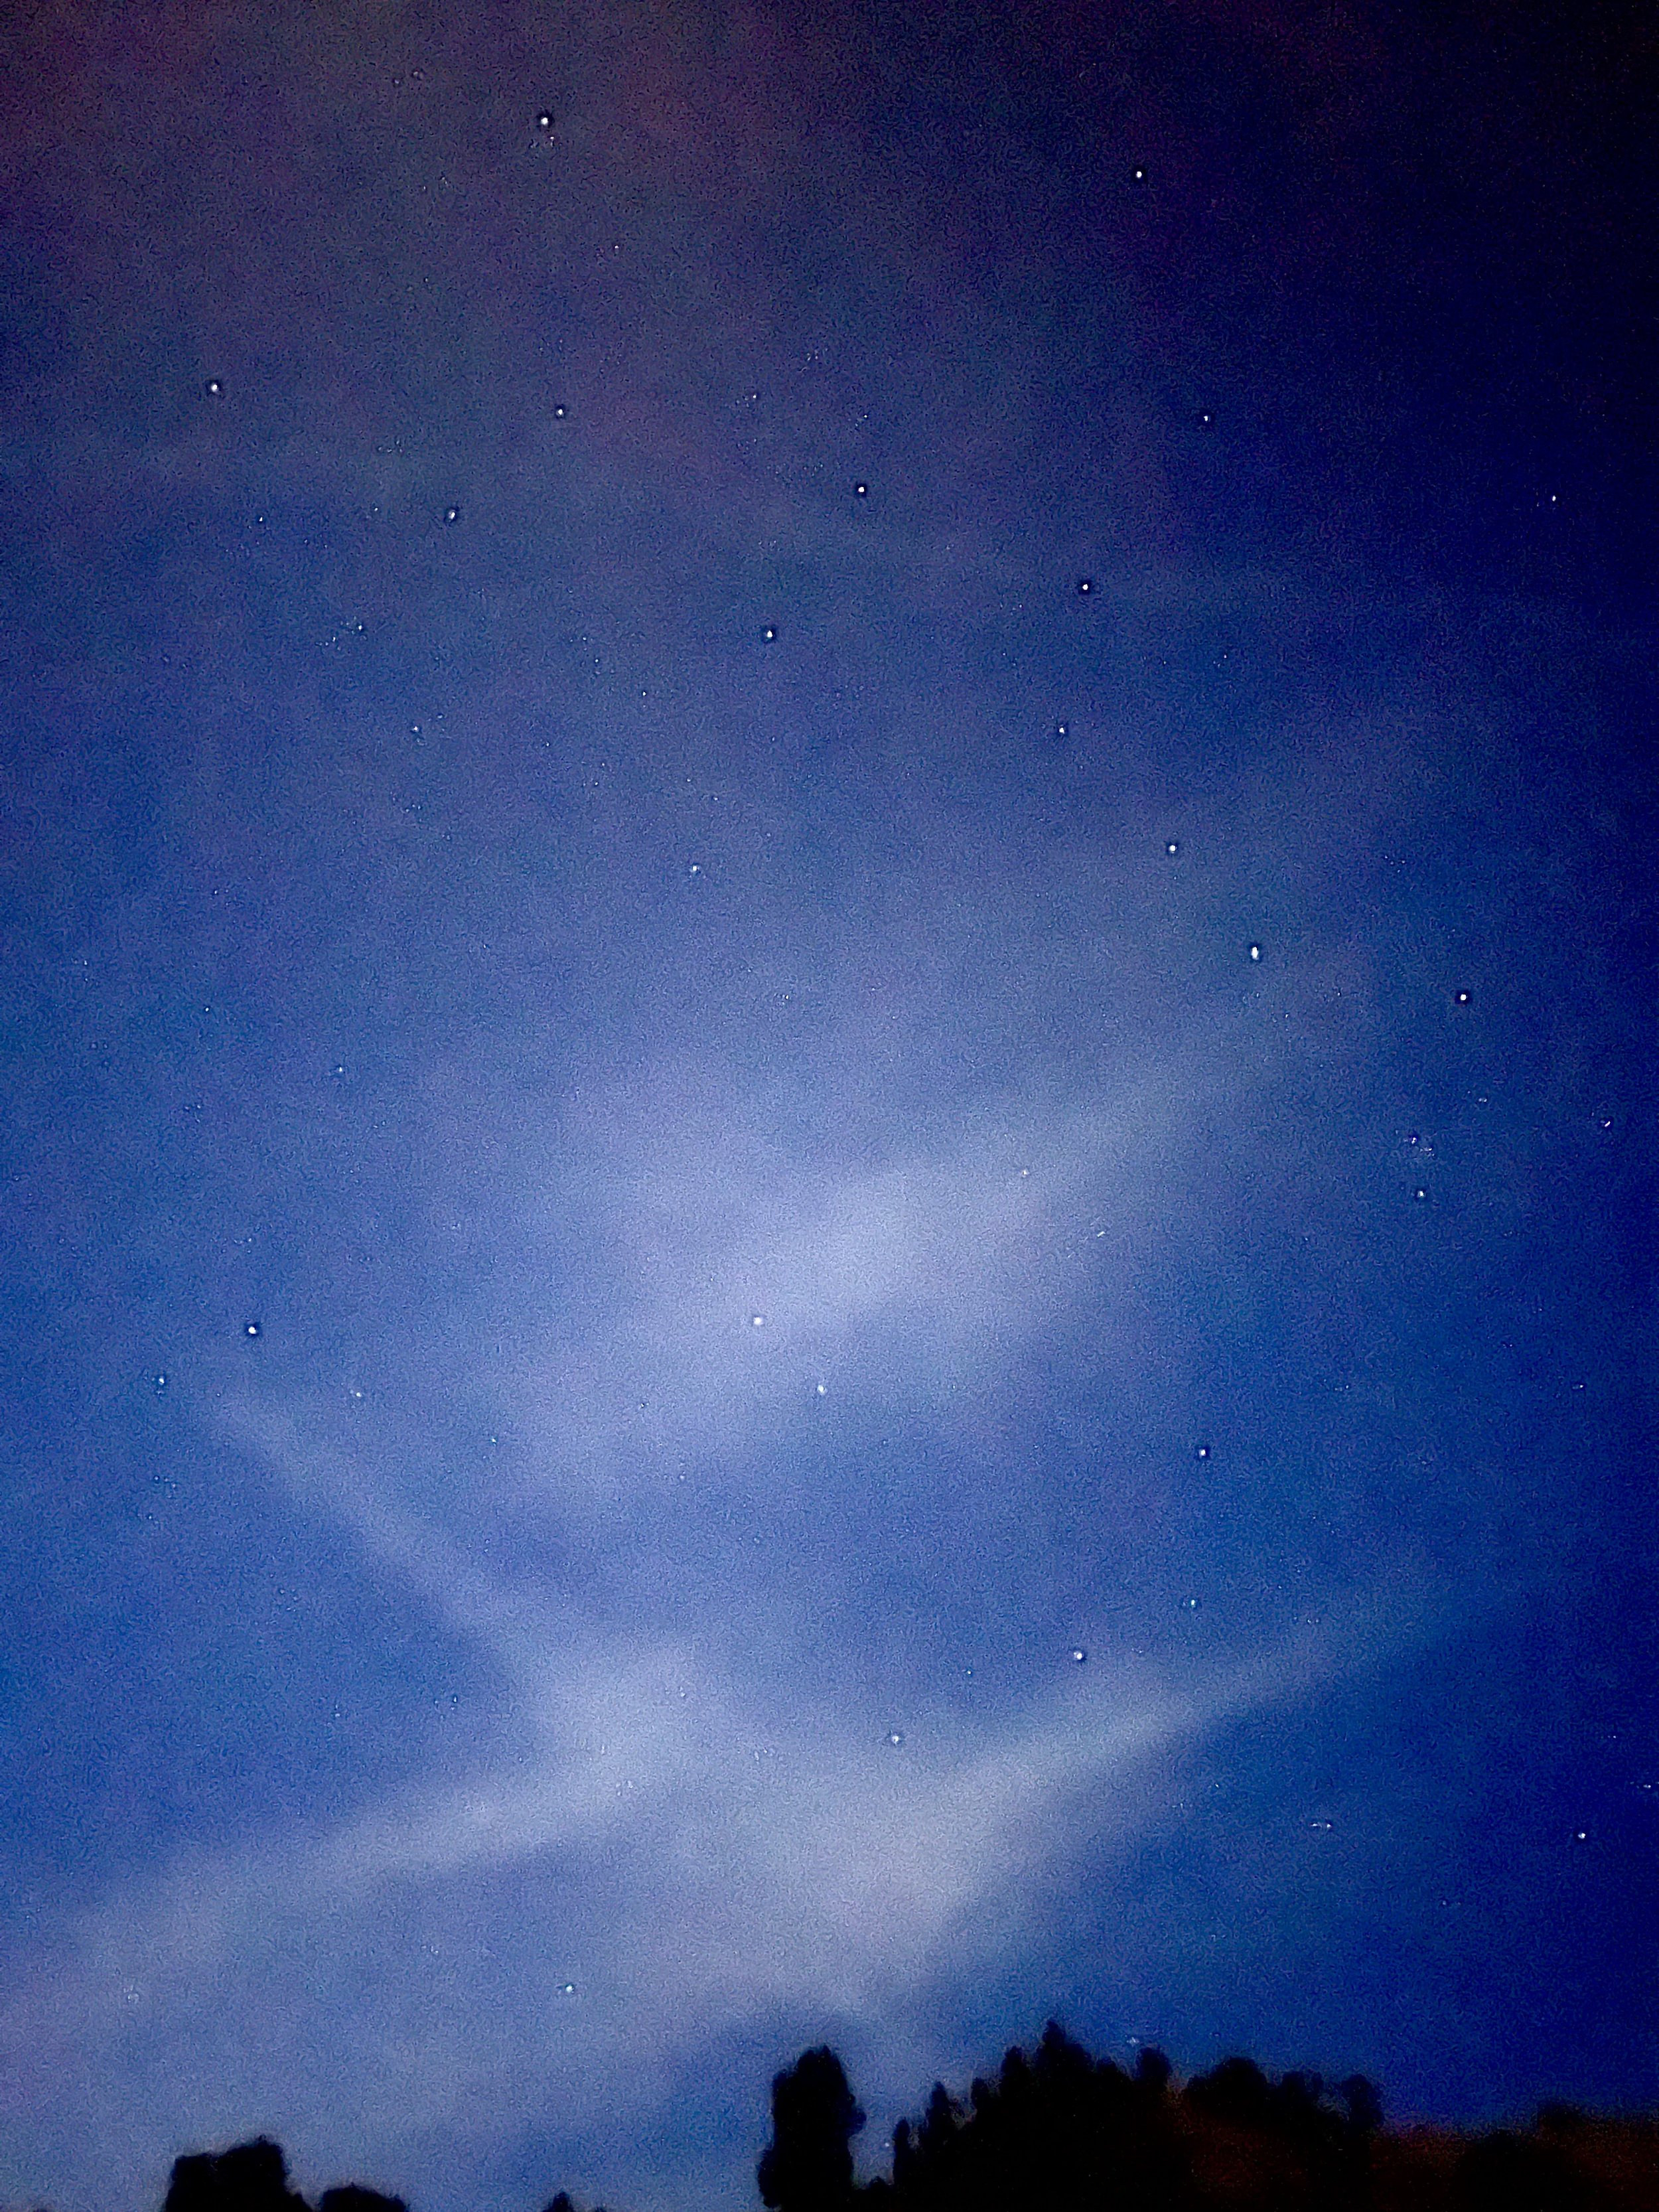
Can You Find Polaris?
This is not a blog on how to do astro-photography. I mention several times, on this site, that we plan to do “astro.” I thought I should explain. Here is a non-technical explanation of what we are doing late at night, in the dark, outside our tent.
Astrophotography is a new activity for us. There are four main ways to take night photos. The simplest, from a photography standpoint, might be find what you want to take a photo of then take the shot. But you have to be able to find your subject and you need a tripod, a really good camera and a great lens. This is not what we do. Here is a link to someone I follow who does this type of Astro as well as other types of photography.
The next easiest, is a time lapse. You pick a foreground in the direction you want to shoot then set up your camera to take photos at regular intervals (ex. every 17 seconds) over several hours. This requires a tripod, an average quality camera and lens, and an intervalometer (a timer). We have all these things and have done this type of photography. We’ll post a video of soon.

Time Lapse Setup
The third way is to stack images. To do this you need to take a bunch of shots of the same stars and paste them together with specialized software to get a nice photo of bright clear stars. The software can compensate for the rotation of the earth but it rotates the foreground so you have to stack that in a well. Here is an example.

Example: Stacked Image Type I
You could take the same stack of photos and stack them to not rotate the foreground but to show the rotation of the stars. Here is an example of that. The weird lines are airplanes.

Example: Stacked Image Type II
The forth way is to take a single shot over an extended period of time with a star tracker (A star tracker is a device that moves very slowly to compensate for the earth’s rotation.) The setup for this is the most complicated.
Example: Tracked Image

Tracked Setup
In the photo above you see our setup for tracked images. Starting at the bottom we have: a tripod, a wedge (allows for alignment to Polaris) star tracker, ball-head (allows leveling), camera with lens, and an intervalometer. To align to Polaris you look through the tracker, which has a screen similar to that shown below. Then you adjust the wedge to place Polaris in a specific location on the screen, which changes for time, date, and location. There is an app available for our phone that gives the location needed on the star tracker’s screen. As an example, when we were in Kanab, Utah the star tracker’s alignment needed to be where the orange “X” is on the tracker’s screen. You have to fiddle with the setup to get Polaris in just the right spot.

Alignment
You also have to be able to find Polaris. That’s actually very easy. Can you spot Polaris in the photo at the top of the page? If not, this should help.

The Big Dipper with Polaris
Obviously, since we have the equipment and an example photo, we sometimes use method 4.
The last three things you need are a clear sky with a minimum of light pollution (this can be the hardest part), a fully charged battery, and a huge memory card.
This is a super simplified explanation but then you’re probably not really interested in the process just the end result. If you want to know the details see Alyn Wallace’s website.
***