
Setting Up For Rain

Patriot X3
Prepared for Rain
August 14, 2022 - August in Colorado’s Park Range is wet. It rained on us four nights in a row, which gave us time to work on setting up for rain. There are no big secrets here, only tips for keeping dry. When we picked up our trailer from the dealer, they went through the setup process with us, but being from Utah, they didn’t have much experience with rain!
I am going to assume you know the basics of setup and the name of the camper parts will become clear. I’m going to focus on how to stay dry. This would be better as a video but we haven’t progressed to video, yet. Maybe soon.
TENT SETUP
Park in a good position. If you expect rain, try to park in a position that will direct runoff away from the kitchen side of the camper. That may mean pulling into the campsite forward instead of backing in, etc.
Your goal for setup should be to achieve a tight tent. If the cloth is tight, it will shed water better and won’t flap in the wind that usually precedes rain.
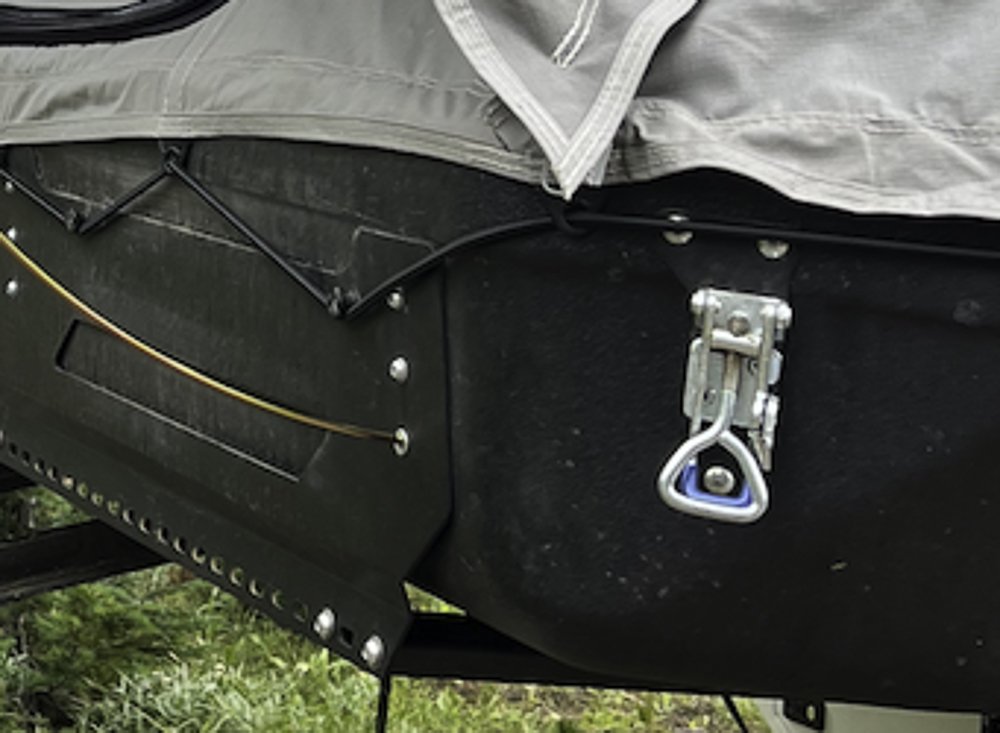
Drip-skirt Bungee
Attach the bungee on the drip skirt first. After you set up the tent, if you get the tent tight, the bungee will be harder to attach.
Release the awing and raise it, even if you don’t intent to open the awning. Do this while you are still outside to save a trip out and back inside to attach the rainfly. (I’m short. Tall people might be able to attach the rainfly from outside.)
Fully extend the six interior poles. This is most easily accomplished by pushing out on the horizontal part of the poles (roof), rather than pulling up near the latch, it’s not only easier but provides a tighter tent setup and ensures one hand is free to lock the pole in place. I typically work my way around all six latches twice to make sure the poles are all fully extended. You’ll be surprised how much farther the poles will extend on the second round.

Patriot X3 Side Windows
Close the side windows. The sides of the tent are sloped. If you don’t close the windows, water will roll down the tent, through the window, and onto the bed. I typically close the windows when I pack the tent, that way if I arrive at camp in the rain, the windows are already closed.
Check your work by trying to shake the tent. It shouldn’t move much. If it does move, find out what isn’t tight and correct it now.
3. The goal of setting up the rainfly is to minimize its contact with the tent.
Position the rainfly’s supports. The rainfly has supports that you might not have noticed. If you lift the rainfly over the kitchen-area and look under it, you will see two layers of fabric, the rainfly and the tent. Inside the upper layer, at the seam (see photo below) you can feel the support. This support needs to be arched to provide the desired separation (sorry, long explanation for this next step)

Rainfly arched to provide separation from tent

Grab the drip skirt, over the kitchen area, and pull away from the tent. The rainfly will probably shift 3 to 5 inches and the support will pop up to a nice arch,* like shown previously, this provides the desired separation from the tent.
Attach the rainfly’s straps to the brackets on the awning. These need to be tight enough that the rainfly doesn’t collapse back onto the tent, but you don’t want them so tight the rainfly wrinkles as shown in the photo above. It’s a balancing act.

Awning cover tucked into the rainfly support bracket
If you are opening the awning, you will want to pull the awning cover inside the rainfly and tuck it under the rainfly support brackets. If you leave this cover out, water will collect in it for a while then suddenly discharge into the sitting area. Note: On our camper, the rainfly support brackets didn’t line up with the rainfly straps. We fixed this by moving the end brackets farther apart. This requires a socket wrench but, luckily, it only needs to be aligned once.

Attach the spring poles and stake the rainfly. This will keep the rainfly’s back support arched and away from the tent.
Check your work. Any sagging means a wet tent later. The rainfly can only keep the water out for so long if there is a pool. By the time it starts dripping inside the tent, it will be cold and dark but probably still raining. Clearly not the best time to discover you were not thorough.
AWNING SETUP
Like the tent, the awning needs to be tight but the primary goal here is to achieve a good slope away from the tent. If you’re tall, and it’s a sunny day, you can extend the awning poles for a level awning and not have to worry about bumping your head. But if it’s going to rain, the awning needs a steep enough slope away from the tent that water never begins to pool. Once pooling starts, the awning will begin to sag and the problem will grow. We found out the hard way, that the awning can hold a lot of water and not rip or collapse if you don’t get the setup right.
Open the awning and set the awning poles. On a flat camp spot, the awning poles at their shortest length provided around a 10“-drop over the width of the awning. That provides plenty of drainage. If the ground around your camp spot is sloped up from the tent, the poles at the minimum extension may not be short enough to provide good drainage. If you need to make the poles shorter, set them up at an angle, with the bottom of the poles closer to the camper, then stake the poles.
Set the guywires for the awning. With attention to removing any wrinkles in the awning, adjust the pole placement and begin staking the awning as necessary. When setting your guywires remember that staking them perpendicular to the edge of the awning might not provide the best support or remove the most wrinkles. Our awning tends to wrinkle over the kitchen area. To remove this wrinkle and allow runoff in this area, we won’t install the cross-pole support during rain-setup. See below.

Awning with cross-pole not installed allows water to run off
If you opt not to use the cross-pole, you will have to set the guywires for the two support poles (legs) at an appropriate angle so the awning support poles don’t collapse toward each other. Again, maximize drainage and remove wrinkles. For sunny days and dry climates, we install the cross-pole and often don’t bother to stake the awning unless it’s windy.
3. Install the side panels. We typically only put up the middle (yellow-tab) panel and one blue-tab panel toward the back even when it is raining. These two panels get zipped together and staked down. We use screw-in tent stakes that we can install with our driver. They can be easier to install and seem to stay in better during windy conditions. We also noticed that when the awning poles are at their minimum height, the bottom of the side panels flare out which can help to divert water away from the kitchen floor.
4. Stand back and observe your work. Consider where rain can blow in and where there will be drainage. If it starts to rain, we grab everything on the ground that could be absorbent. We typically have a rug at the bottom of the stairs and a dog bed. Patriot’s floor accessory is good for keeping you off dirt when its dry and it drains well, but when water pools under the awning it’s still muddy.
Even with these precautions we found some of the awning seams leaked. These were not bad leaks just the occasional drip. There is factory installed seam-seal tape but it has come off in a few places. The dripping occurred where the Velcro had been sewn for the awning cross members and at the awning’s back pivot point. We have applied silicon seam sealer on all the awning seams but please note that we have not verified its compatibility with Pcor®. Improvements to the seam sealing may have been made in the few months since we purchased our trailer.

All this makes it sound like the trailer is difficult to set up. It actually very easy. There are just things you need to pay attention to if it is going to rain. And it always rains when we camp.
We are not Patriot camper experts but we’re learning, and we love our camper!
August in the Park Range may be wet, but winter is going to be snowy. The annual average snow fall here is 180 inches. I better find out what the camper’s snow load is!
Update
*The rainfly support is adjustable and adjusting it once may not be sufficient as over time it can become loose. There is a strap between the tent and the rainfly on the tongue end of trailer. I found it easiest to access this by climbing out the window to stand between the tent and the awning. It’s a narrow space. If you can access a ladder that might be safest. Once you can access the strap, tighten it until the support pops up into an arch, then pull the rainfly out tighter over the tent. Now you should have a curve in the rainfly that will direct water off the tent. If the support pops up but still sags behind it, keep pulling the rainfly away from the center line of the tent.

Over time this strap can become loose. It’s best to get into the habit of checking your setup routinely. You don’t want to find out it’s wrong when water is dripping into your tent.